Saving
How to Build an Emergency Fund on a Biweekly Paycheck
A step-by-step way to build an emergency fund on biweekly pay: pick a starter target, set a per-paycheck amount, keep it separate, and refill it after you use it.
On this page
- What counts as an emergency?
- Step 1: Start with a starter target
- Step 2: Find your per-paycheck amount
- Step 3: Keep it separate
- Step 4: Automate the transfer
- Step 5: Boost it with windfalls
- Step 6: Grow from starter to full
- Step 7: Use it without guilt, then refill it
- A sample timeline
- If money is very tight
- Track it with your other goals
- The bottom line
- How to estimate one month of essential expenses
- Keep it from becoming a spending account
- Emergency fund vs. sinking funds
An emergency fund is money set aside for the things you can't plan: a car repair, a medical bill, a sudden drop in hours. Without one, every surprise becomes debt. With one, a surprise becomes an inconvenience. This guide shows how to build an emergency fund one biweekly paycheck at a time, even if money is tight.
What counts as an emergency?
Be strict about this, or the fund disappears. Good uses:
- Essential car repairs so you can get to work
- Urgent medical or dental costs
- A job loss or reduced hours
- Essential home or rental emergencies, like a broken fridge
- Emergency travel for family
Not emergencies: holidays, sales, annual bills you knew were coming. Those belong in sinking funds.
Step 1: Start with a starter target
Many people find a big goal like "several months of expenses" overwhelming when they're starting from zero. Begin with a starter cushion that covers a typical small emergency. Pick a number that feels meaningful but reachable, like $500 or $1,000. The Consumer Financial Protection Bureau has a free guide to building emergency savings at consumerfinance.gov, and it emphasizes starting small and staying consistent.
Step 2: Find your per-paycheck amount
Use the savings formula: target ÷ paychecks. A $1,000 starter fund in 20 paychecks (about 9–10 months) is $50 per paycheck. In 10 paychecks it's $100. Choose a pace your budget can actually handle. A smaller amount you keep saving beats a bigger amount you skip.
Look at your paycheck budget for leftover after bills. If one paycheck is always lighter, save more from that one and less from the heavy one.
Step 3: Keep it separate
Put the fund in a savings account that isn't linked to your debit card. You want it easy to reach in a real emergency (within a day or two) but not so easy you dip into it for a takeout night. Choose an insured account; the FDIC explains deposit insurance at fdic.gov.
Step 4: Automate the transfer
Schedule an automatic transfer for the day after each payday. Name the account "Emergency fund" so you see its purpose every time you log in.
Step 5: Boost it with windfalls
- Three-paycheck months: two a year for most biweekly earners. See three-paycheck months.
- Tax refunds or work bonuses.
- Side income: put a set share of each side payment here (and remember taxes, see tracking side income).
- Cancelled subscriptions: move the exact monthly cost into the fund.
Step 6: Grow from starter to full
Once the starter target is reached, decide your next level. A common next step is one month of essential expenses: rent or mortgage, utilities, groceries, insurance, transportation, and minimum debt payments. Many people then work toward several months of essentials over time. To find your number, add up those essential monthly costs from your budget.
If you're also paying off debt, it's common to pause at the starter level, focus on high-interest debt, and then return to building the full fund. A small cushion keeps the debt plan from being derailed by surprises.
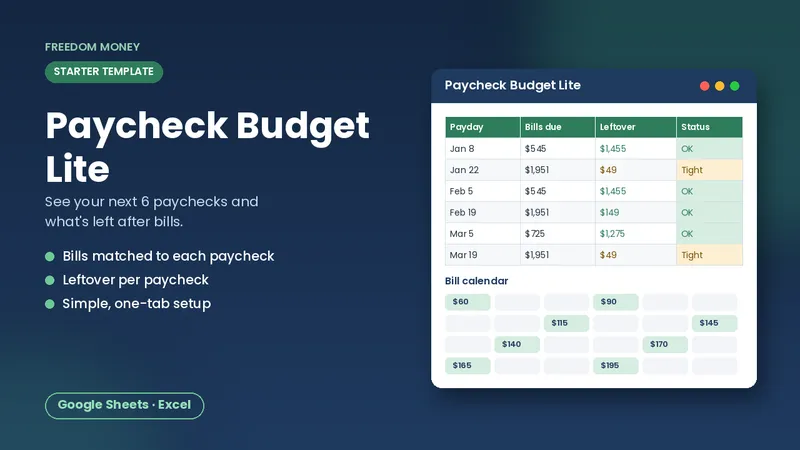
Free: Paycheck Budget Lite
A simple starter spreadsheet for Google Sheets or Excel. List your take-home pay and bills and see what each paycheck has left. Free, instant download.
Download the free templateStep 7: Use it without guilt, then refill it
When a real emergency hits, use the fund. That's what it's for. Then restart your per-paycheck transfer to refill it. Some people temporarily increase the transfer until the balance recovers.
A sample timeline
| Stage | Target | Per paycheck | Paychecks |
|---|---|---|---|
| Starter cushion | $1,000 | $50 | 20 |
| One month of essentials (example: $2,800) | $2,800 | $75 | 24 more |
These are example numbers. Use your own budget for your targets.
If money is very tight
- Start with any amount, even $10 per paycheck. Building the habit comes first.
- Round up: some banks offer round-up savings on card purchases.
- Sell one or two things you don't use and deposit the cash.
- Review recurring charges once and redirect what you cancel.
Track it with your other goals
An emergency fund is easier to build when you can see it grow next to your other goals. Our Savings Goals Tracker shows progress bars, months left, and the amount needed per month and per biweekly paycheck for each goal, including your emergency fund. If you're just getting started, grab the free Lite budget below.
The bottom line
Build your emergency fund the same way every other goal gets built: pick a target, divide by paychecks, automate the transfer, and add windfalls. Start with a small starter cushion, keep it separate, use it for real emergencies, and refill it after. Every paycheck that adds to it makes the next surprise a little smaller.
How to estimate one month of essential expenses
Open your budget or last month's statements and add up only what you'd still have to pay if your income stopped:
- Rent or mortgage
- Electricity, water, and other essential utilities
- Groceries (not eating out)
- Insurance premiums
- Transportation to work or job interviews
- Minimum payments on debts
- Phone and internet, if you need them for work or job searching
- Essential medications and childcare
Leave out subscriptions, dining out, and other spending you could pause. The total is your "one month of essentials." Write it at the top of your savings tracker so every transfer moves you toward a number that means something for your household, not a generic rule.
Keep it from becoming a spending account
A few habits protect the fund. Don't link it to your debit card. Give it a clear name in your banking app. Before using it, ask: is this unexpected, necessary, and urgent? If the answer to all three is yes, use it. If not, it probably belongs in a sinking fund or your regular budget. Some people also keep a written list of past withdrawals, which makes it easier to spot patterns, like car repairs that happen every year and deserve their own savings goal.
Emergency fund vs. sinking funds
An emergency fund is for surprises: a job loss, a medical bill, a sudden repair you couldn't see coming. Costs you can see coming, like car registration, holiday gifts or an annual insurance premium, belong in separate sinking funds. Keeping them apart stops predictable bills from draining your emergency money. If you'd like a sheet that works out the per-paycheck amount for each one, the Sinking Funds Tracker does that for up to 20 funds.
Frequently asked questions
How much should a starter emergency fund be?
Pick a reachable amount that covers a typical small emergency, such as $500 or $1,000, then grow it toward a month or more of essential expenses.
Should I save or pay off debt first?
Many people build a small starter cushion first, then focus on high-interest debt, then return to growing the emergency fund.
Where should I keep my emergency fund?
In an insured savings account separate from everyday checking, so it's reachable quickly but not easy to spend by accident.
This guide is general educational information, not financial, tax, legal, or insurance advice. Examples are illustrations, not predictions. See our disclaimer.